Fabric Christmas Bauble Card
- Sew let's Sparkle

- Dec 20, 2025
- 2 min read
You’ll need:

• Heat-n-Bond (or similar fusible appliqué paper)
• Small scraps of festive fabric
• Felt (white works nicely)
• Craft blank card
• Sewing machine with zigzag stitch
• Glue stick / fabric glue
• Circle template (cup / jar lid / compass)
• Pen or fine liner
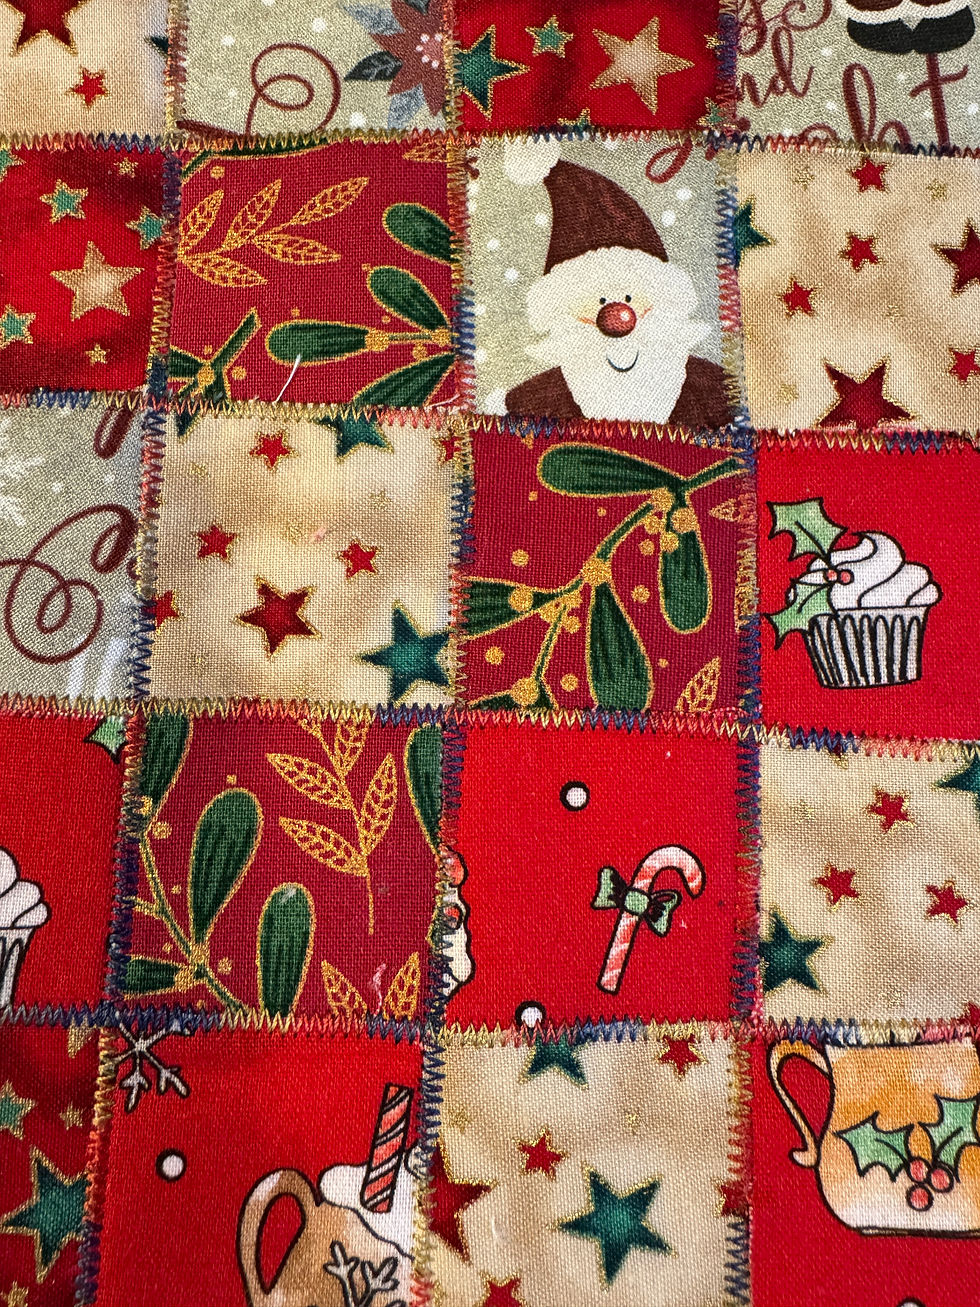
Make the patchwork
1. Cut your Christmas scraps into 1” squares.
2. Arrange them in a little grid on the sticky side (right side up)of the Heat-n-Bond.
3. Press with an iron to fuse the squares in place (follow the product instructions). I use baking paper to stop the glue getting on my iron.
Fuse to felt & “quilt” it
4. Cut out the fused patchwork piece.
5. Peel off the paper backing.
6. Place it onto a piece of felt and press again to bond.
7. Use a narrow zigzag stitch all over the grid lines to “quilt” the little squares to the felt.
Cut the bauble
8. Use a circle template to draw a circle on the quilted piece – this will be your bauble.
9. Cut out the circle through both fabric and felt.
Attach to the card
10. Glue the bauble to the centre of your craft card.
11. Stitch around the edge with a wide zigzag stitch to secure (open the card flat so you don’t catch the back).
Add details & message
12. With a pen, draw a hanging string from the top of the bauble up to the top edge of the card.
13. Add a little bauble cap, bow, or sparkles if you like.
14. Write your greeting – “Merry Christmas” looks lovely under the bauble.
Now you’ve got a gorgeous scrappy bauble card to send to all your friends – plus it uses up tiny Christmas fabric leftovers 🎄✨
If you do make a card with this tutorial please tag me and share on instagram.
It’s easy to adapt too — simply swap the fabric and template to create greetings cards for any occasion ✨💌


Comments